One of my absolute favorite feelings is running my hands over brand new vinyl. The clean, smooth, and uniquely soft feeling of Reformer upholstery is so satisfying, like new car smell.
Conversely, cracked, ripped and dented upholstery can make the whole machine feel old. No matter how much scrubbing, dusting, and tuning you might do to the rest of the apparatus, the worn vinyl is like a broken headlight on a brand new car. It just doesn’t fit with the high-quality movement practice you’re teaching.
While Balanced Body makes it easy to replace your upholstery without any sewing skills. I always use their replacement kits for studios I visit because it’s a great way to ensure you get new vinyl and foam that lasts through years more teaching. However, sometimes you don’t need to replace the entire upholstery kit. When the foam is still in good condition and the damage to the vinyl is small, a quick repair might be the answer.
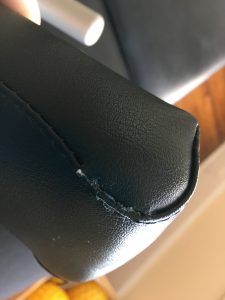
Today I’m going to walk you through my method for gluing a corner seam back together on a Reformer shoulder rest. I see this kind of bulging a lot, and with five or ten minutes of effort you can make it look like new again.
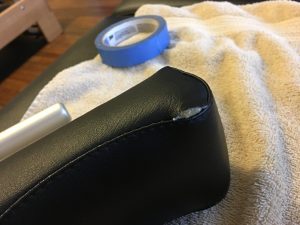
In order for glue to work (I use this one) you must make sure that you can use your fingers to push the edges of the vinyl together again. This method will not work for rips, cuts or tears that are missing material or cannot be easily held closed. If your material is not a candidate for glue, try using this black repair tape. I love it because it’s meant for outdoor gear and has a great texture.
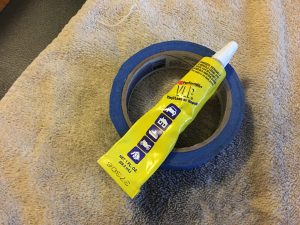
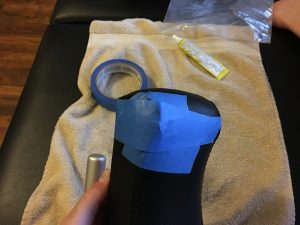
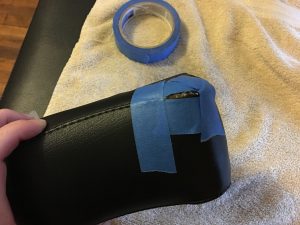
Once you’ve determined your repair can be done with glue, gather some masking tape. Use small pieces of tape to mask around the edges of the rip/tear so that the excess glue will not smear over perfectly clean vinyl.
Next, apply a medium amount of glue into the gap between the edges of the vinyl. You don’t need the gap to be overflowing and making a big mess on your tape, but you do want to be sure the glue can penetrate between the edges of the vinyl.
Finally, to hold the rip closed, wrap more masking tape around the shoulder block. The glue takes a couple of hours to dry, so you need some way to hold the gapped vinyl closed.
After a few hours, remove all the masking tape and check your handy-work! You now have a great-looking shoulder block. Caution: Avoid heavy usage of the repaired component for 12-24 hours to let the glue fully set. You may need to use some tweezers to scrape away small bits of your tape, but in general using your fingers should work.
Happy Reforming!
This article was also posted on the Balanced Body Blog.