Picture this: Your clients are right in the middle of footwork, dutifully pressing in and out, coordinating their breath, paying attention to their spinal position, and following all your other cues. All of a sudden, the next time they bring the carriage in, instead of a soft thump when the carriage hits home, there is a loud, metallic clang. Maybe, even, there is now a humming reverberating along the reformer rails as they move.
How embarrassing.
But luckily, it’s a simple fix.
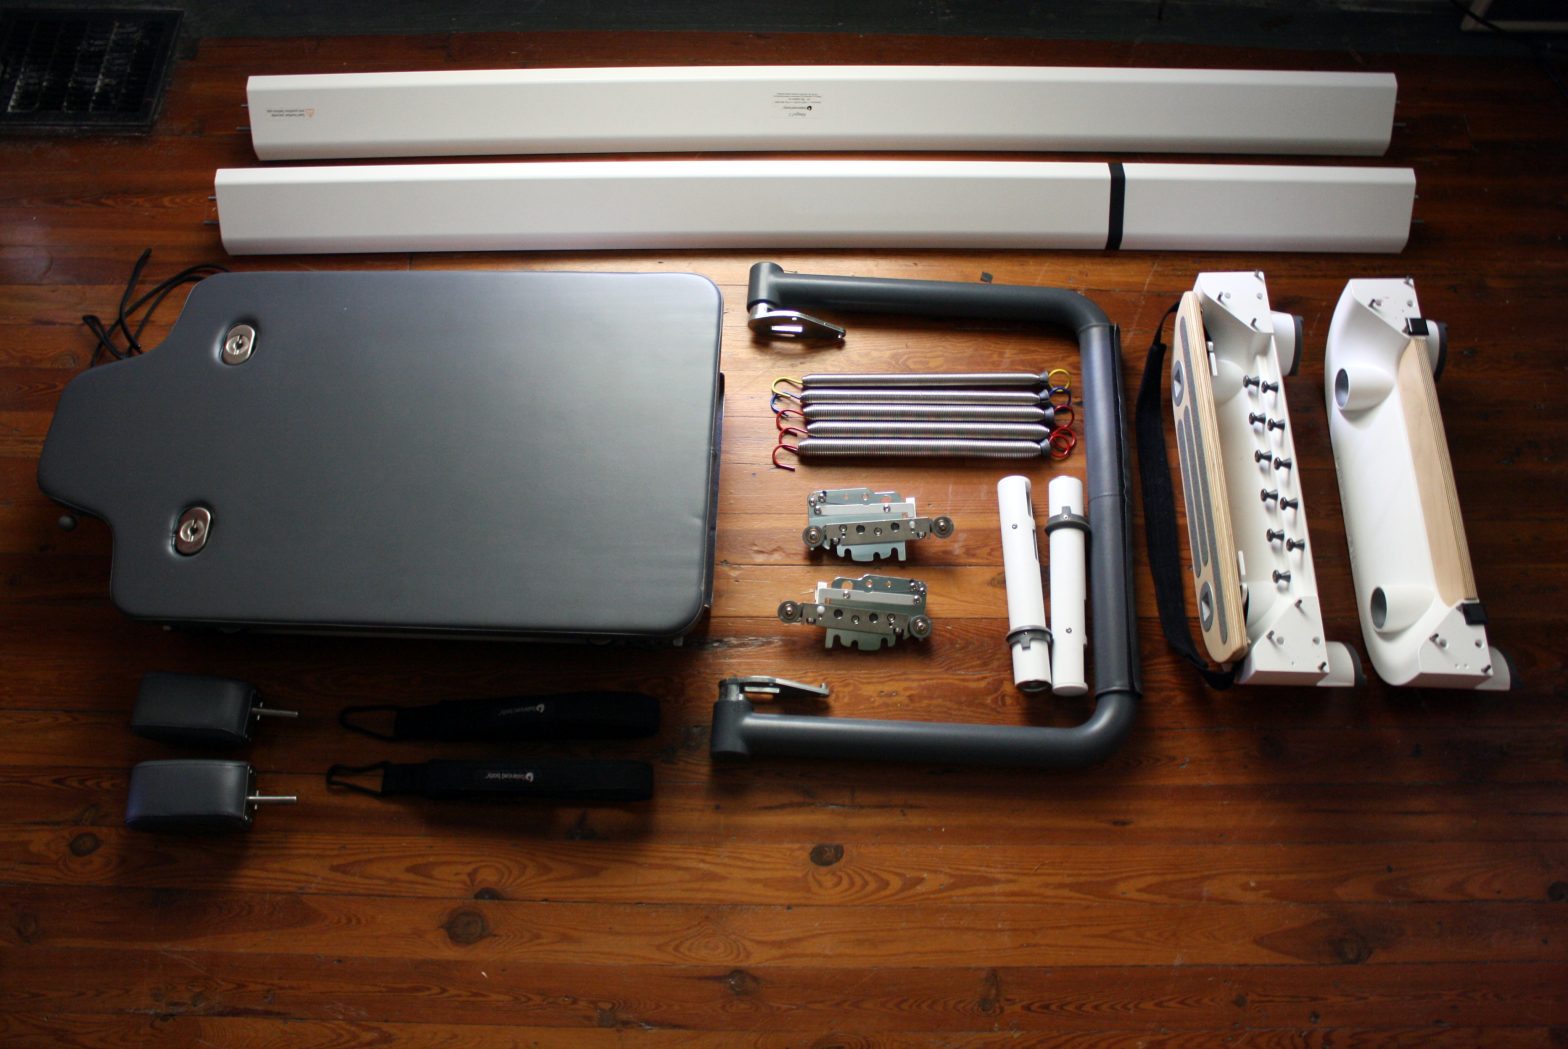
First, some background. Earlier versions of the Allegro 2 used U-shaped rubber bumpers which attached to the carriage itself. Over time, these can come loose and either fall off, or get caught half-way off and make noise as the carriage moves up and down the rails. It’s time to get rid of these bumpers.
Regardless if you experience these symptoms, if you have these U-shaped bumpers you should replace them as a preventative measure.
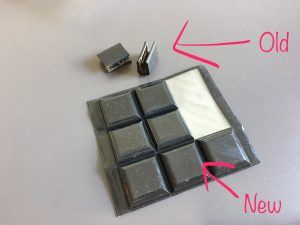
The new style bumpers are square and flat. Here is a great photo showing the difference between the two.

Now, to apply the new bumpers, you need to provide a clean surface to adhere them to. The place to look is a little hard to see, but if you take a light and look down the rail toward the footbar, you’ll see a flat, silver, rectangular surface. That’s where you’re going to put it.
Before you stick one of those squares on there, you need to make sure the surface is clean. Especially if there was a square bumper there before. This is one time that I advocate using GooGone to get rid of any lingering sticky mess. (It’s totally fine to use because you are using it on a metal surface, but don’t make a habit of using this everywhere!)
This is very important! You don’t want the new bumper to fall off right away.
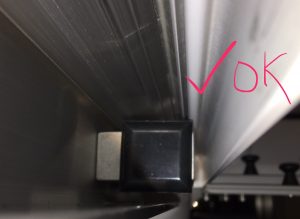
Finally, stick your new bumper on the clean, dry surface. Check out these two photos. You need to stick the bumper on the side closer to the inside of the reformer, rather than the outside.
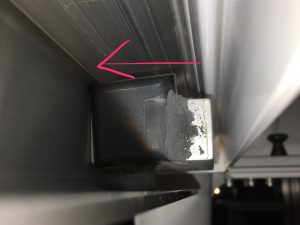

If you place the bumper too far to the outside, the edge of the carriage that comes into contact with it will only hit the edge, and that can cause it to wear and fall off really early. Can you see the squishy-ness on the side of the bumper that is pushed too far left?
You can even test the position by putting your finger on the edge of the carriage rail (a silver metal piece underneath the carriage) and gently moving the carriage toward the bumper, feeling where the edge of the carriage contacts the bumper. The carriage edge should be about centered on the bumper.
Once you verify that placement, repeat the process on the other side of the Reformer (right/left). You’re now ready for a session!
Happy Reforming!