Are you having trouble moving your Revo springbar between gear positions?
You aren’t alone! I’ve seen this issue come up over and over again, so I wanted to share a few tips for using and troubleshooting your Revo springbar.
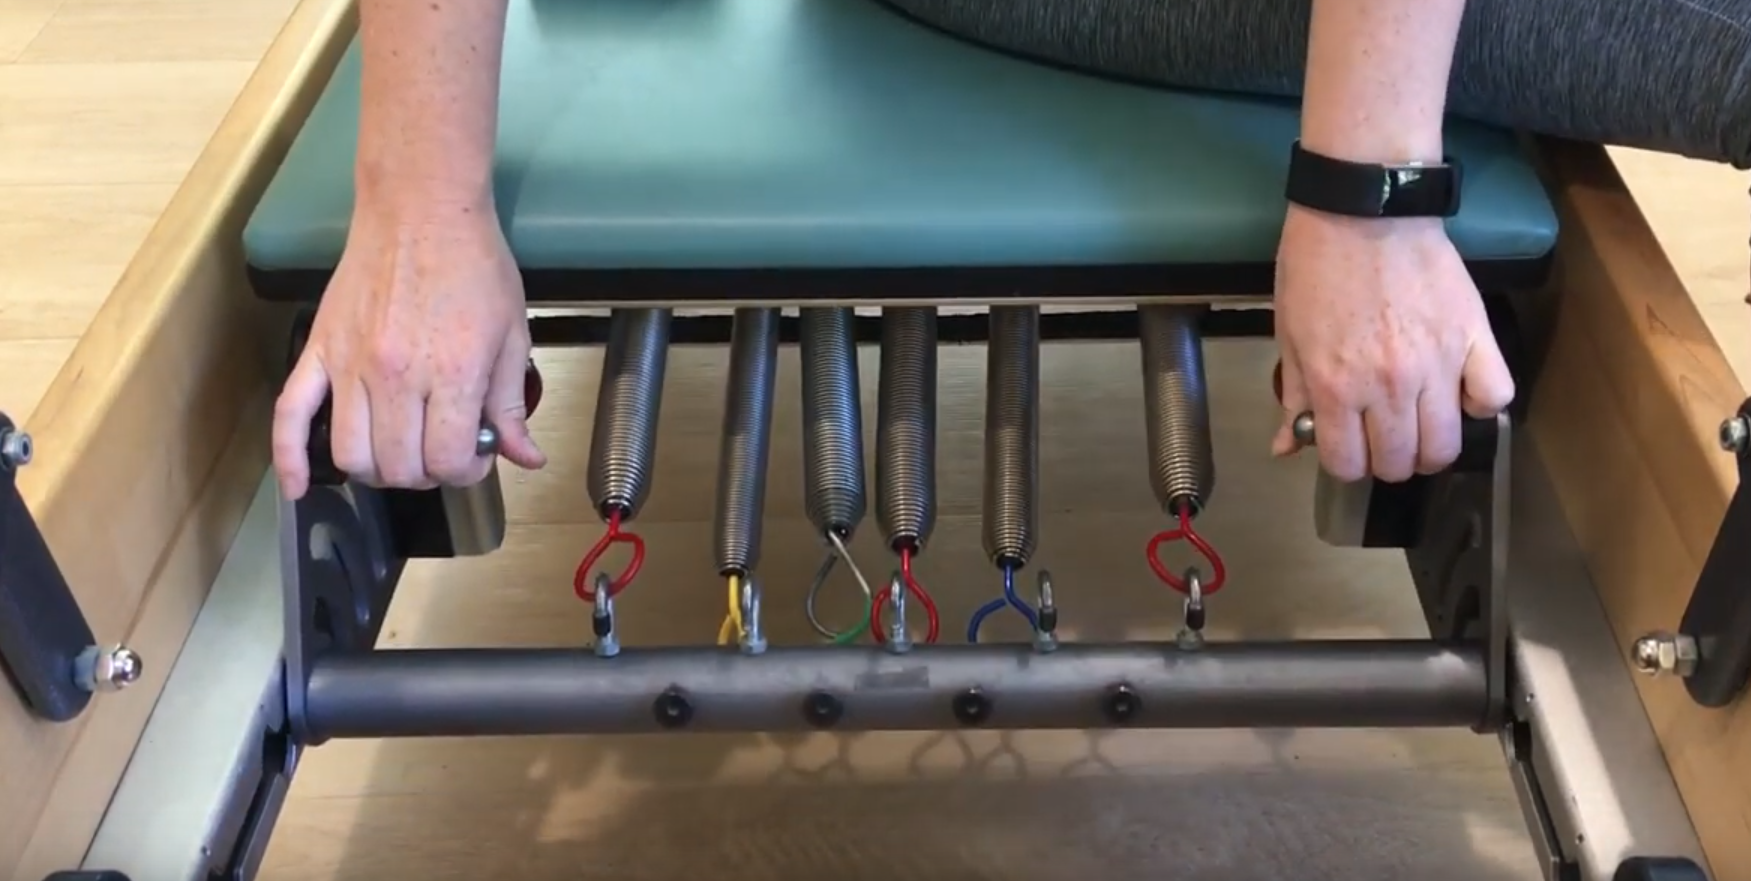
The right way to move the springbar
First things first, make sure you are using the springbar correctly. In order to move the springbar, you MUST have at least one heavy spring attached.
Trying to move the springbar with no springs attached is a huge pain, and can even damage the springbar. Keeping the carriage attached via a spring or two (or more!) helps keep the springbar square so it moves easily.
You can watch a video on how to move the springbar, here.
How to fix a minor annoyance
If your springbar still works, but is starting to get a little sticky, you should try this procedure first.
First, clean the inside of the rail where the springbar moves. Try using a bottle brush to get the hair and dirt out, and then follow that up with some dry silicone spray. You’re going to aim the straw of the lubricant into the rail so it’s right up against the part that slides inside the rail.
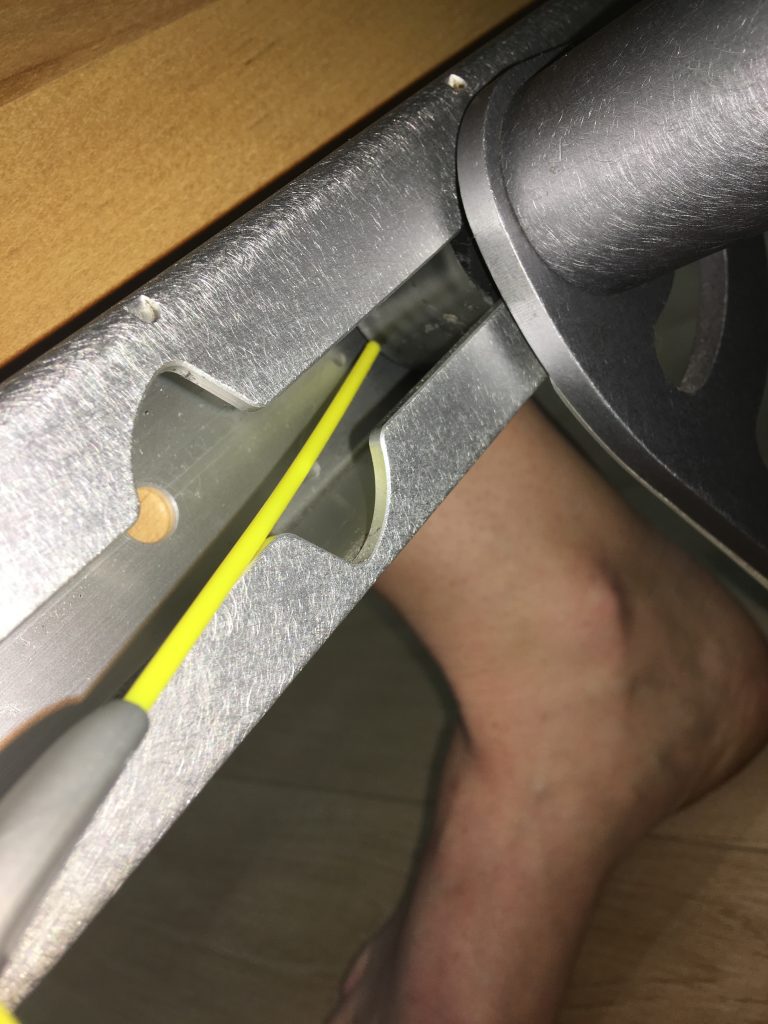
Be generous, but not overly so. Work the silicone in by moving the springbar (with springs/carriage attached!) up and down the gear positions a few times.
What if that didn’t work?
Well, I’ve got some bad news for you. If your springbar is still behaving like the one in this video, you probably need a new springbar.
Have no fear, though, I will walk you through how to replace it! You’ll need to order it through your BB Sales Rep or distributor, though. This isn’t a part you can just click ‘Buy Now’ online.
How to replace the springbar
If you know you need to replace the Revo springbar, don’t worry. You are fully capable of doing it yourself. All you need is a Phillips screwdriver. Here’s how you do it:
- Unhook all the springs from the springbar, and move the carriage to the head end of the frame.
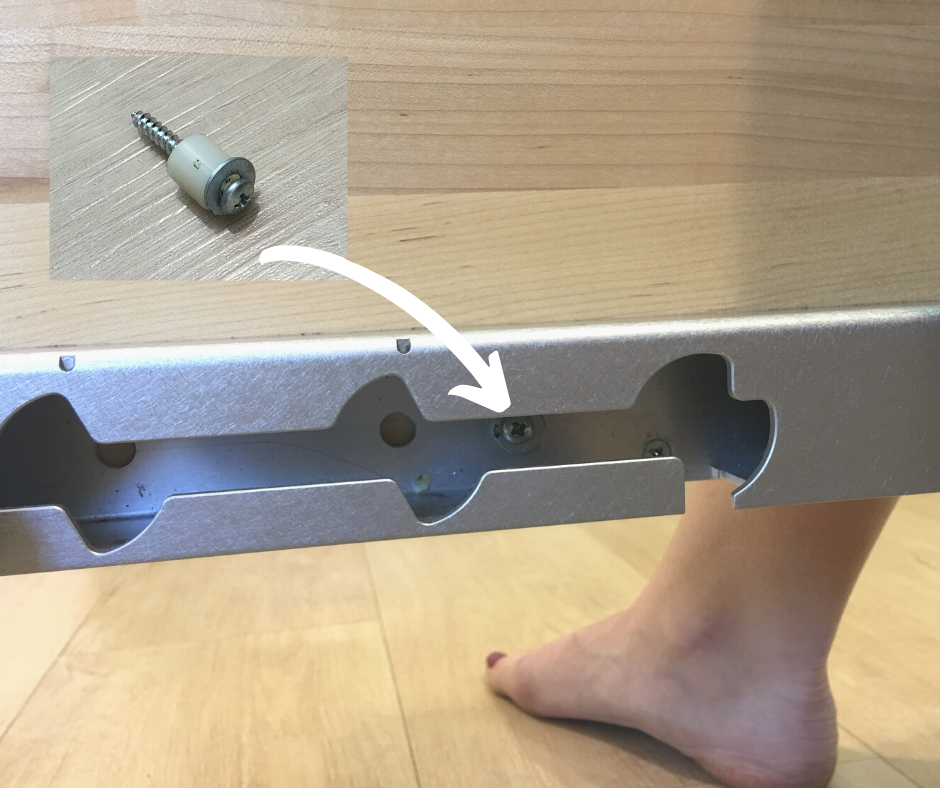
- Unscrew the screw (and washer and plastic spacer) from inside the rail on BOTH sides. Put them aside and don’t lose them! You’ll need to re-install them later.
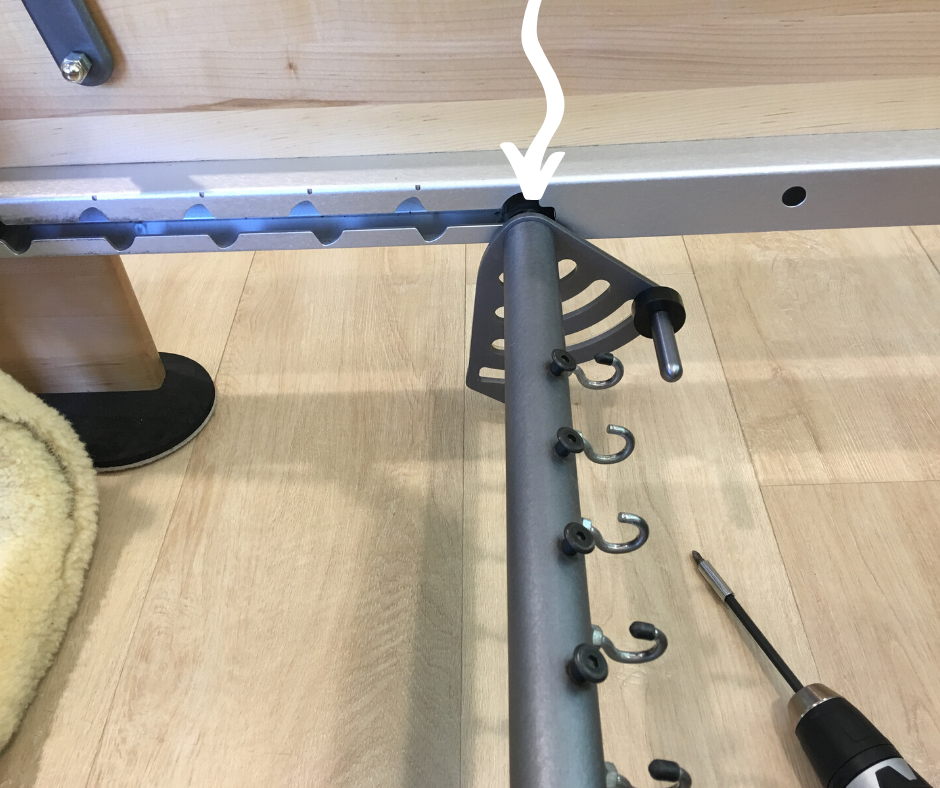
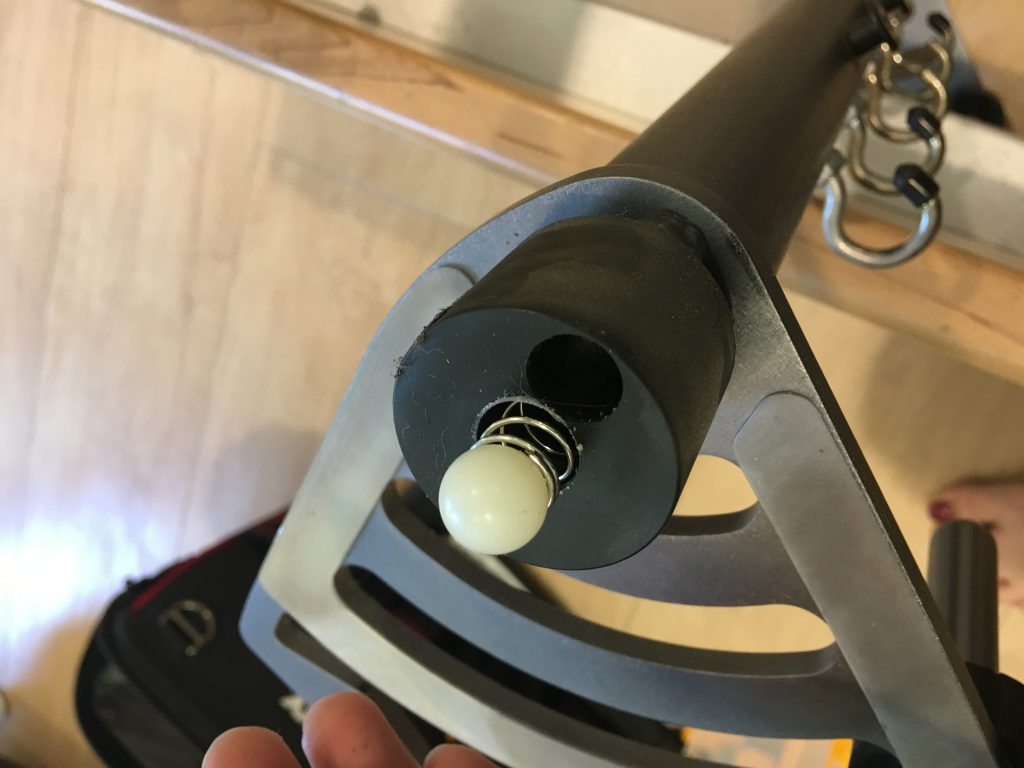
- Using two hands, life the Revo springbar handles and slide the springbar toward the head-end of the rails and out the bottom cutout. When you do this, a spring and a while ball will fly out of each side. Be prepared, it’s okay. Your new springbar should come with new ones. (I always save the old ones, though, just in case!).
- Take the new springbar and the new springs and white plastic balls and get ready to install them. You’ll need to hold the spring/ball in on BOTH sides at the same time, in order to fit it within the rail. Sometimes it helps to have two people involved here.
- Once the springbar is inside the rail, pivot it by lifting the handle, and carefully slide in in toward the foot-end of the rails.
- Re-install the screw-washer-plastic spacer on both sides of the rail.
- Toss your old springbar and components in the garbage.
Ta da!
Need some personalized help? You can request a virtual appointment with me here.
Happy Reforming!