This is the second part of a two-part series on moving your Pilates equipment. Please click here to review Part 1.
So your equipment and accessories are all packed up in your studio and ready to be loaded into the truck. Now what?
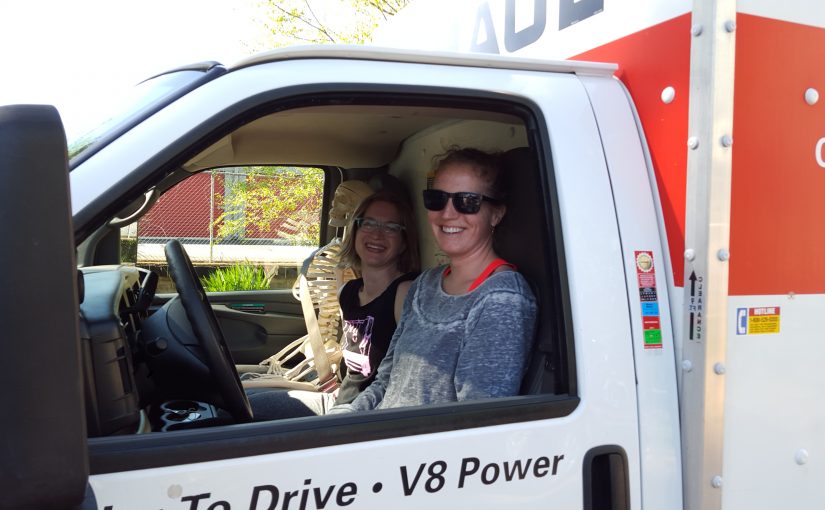
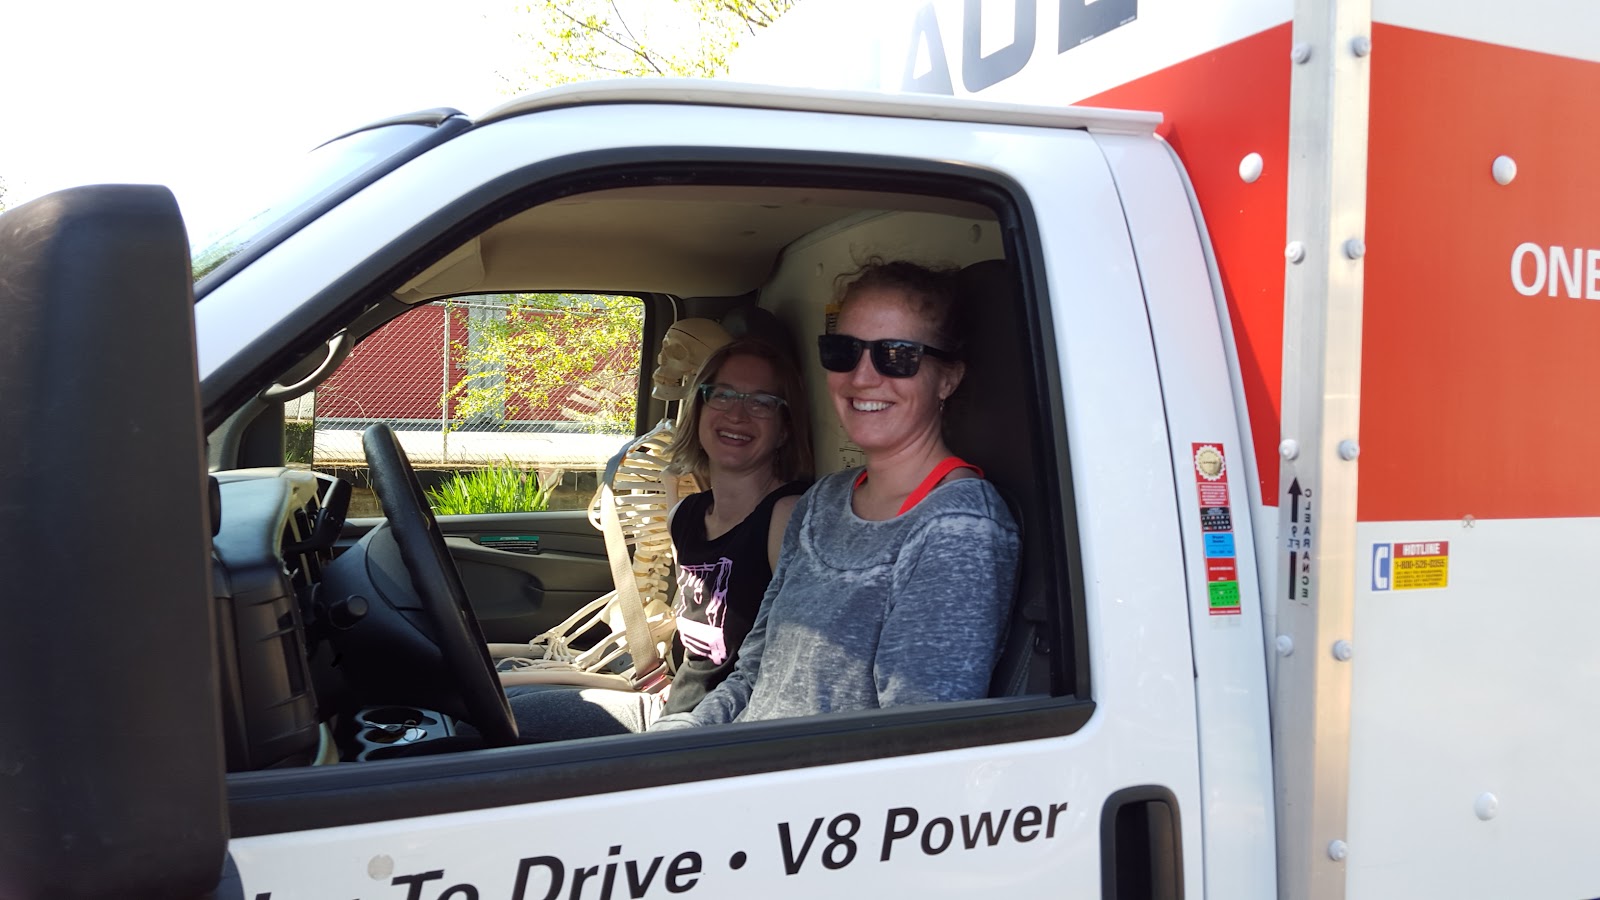
Picking the right vehicle
For some of you picking up a single Reformer, a light duty pickup truck will do just fine! I’ve done this many times.

(Once, I even had a customer transport a Reformer home in her SUV, fitting the head end of the frame over the back of the passenger seat and the foot end hanging out the rear hatch. I’m not sure I’d recommend that method, but they did get the Reformer home in one piece!)
For others, a Uhaul truck will be the best option. I love these, even if I have a pickup, just because sometimes it’s easier to have extra room and an enclosed box. Often the price difference between the smaller trucks and the bigger trucks isn’t too noticeable, so I err on the big side as long as I’m confident with my parking skills at the new location.
The size of truck you’ll need will vary based on what you’re moving. Many of you will be moving your Studio furniture, bath supplies, storage cabinets, decor, and lobby benches along with your equipment, so it is hard for me to give you a good estimate.
Instead of giving you a hard and fast rule, I can give you some examples. In the past I’ve used a 16’ truck to move a studio with 3 Reformers, 3 Towers, and 1 Chair (plus some accessories but no front desk or other major furnishings) and it was about perfect. I’ve used a 22’ truck to move a studio with 2 Reformers, a Ladder barrel, a Chair, and extra home items and had plenty of room to spare. I’ve also helped move 6 Reformers, 6 chairs, and some studio furnishings in a 24’ truck. Again, with lots of room to spare.
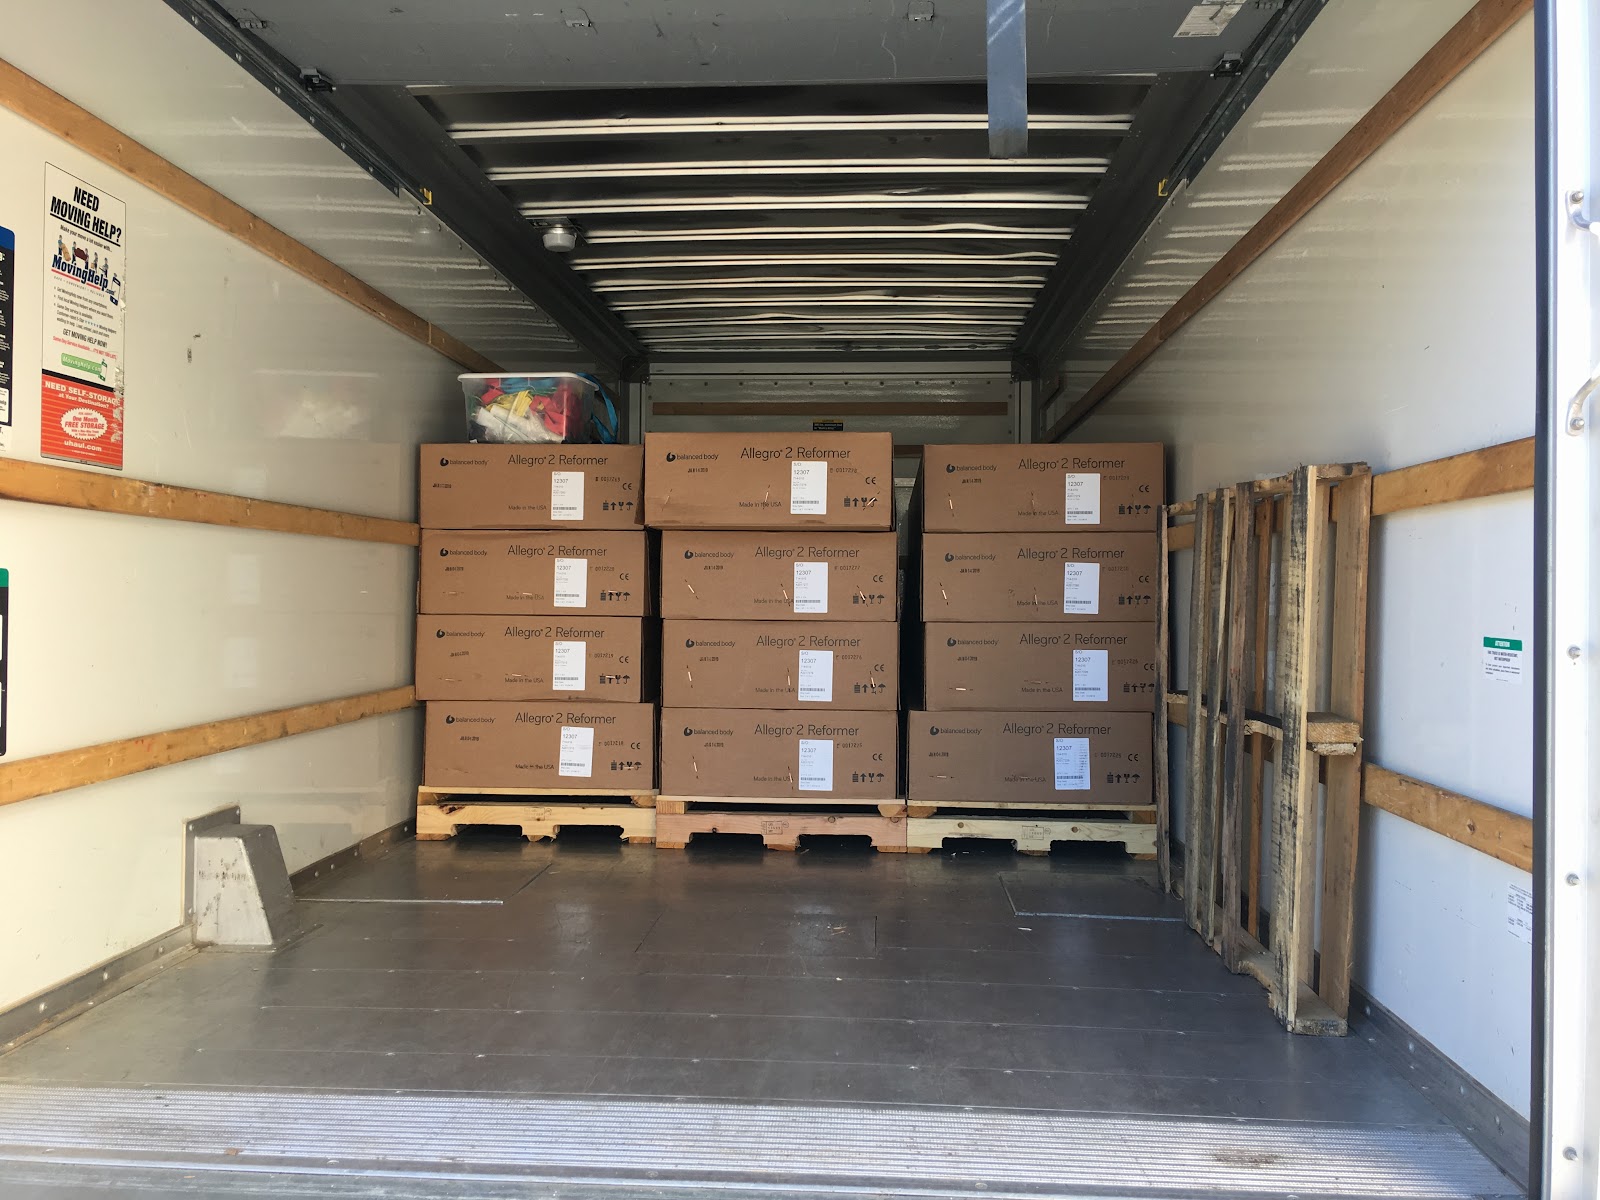
(Note: If you are picking up equipment from the manufacturer, you won’t need quite that much space. Everything stacks much nicer, see!?)
Select one person to organize the truck
As anyone who has ever helped a friend move can attest, when there are too many cooks in the kitchen (or people trying to direct traffic!) tempers are tested and feelings can get hurt. To avoid this, pick one person to act as the moving director. This person should have a knack for shapes and good spatial awareness. They will move between the truck and the studio to direct which things should be brought out first, where in the truck things should be placed, and whether or not things need extra tie-downs or padding in the truck.
Everyone else becomes worker bees!
Bringing items out in a logical order
Your moving director should loosely follow the order below (assuming you followed the packing-up directions from part 1!) Pause when needed to add padding and tie-downs.
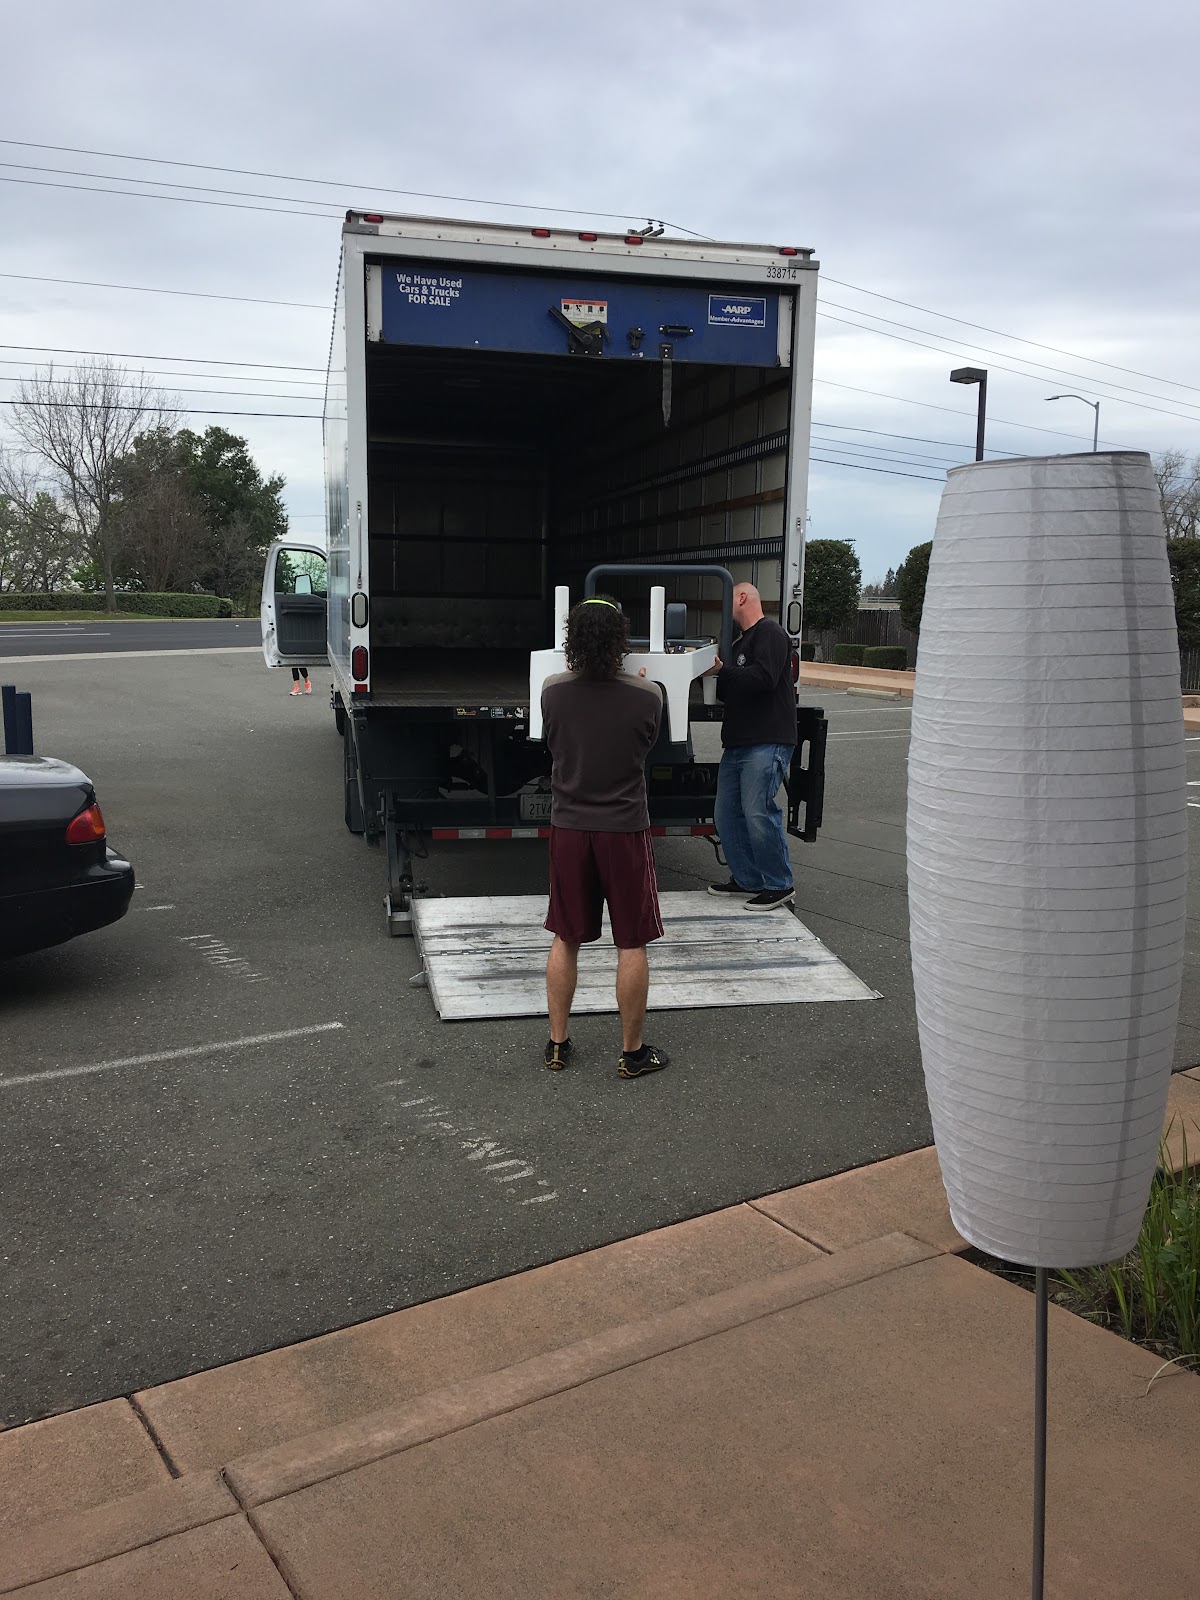
- Bring out heavy and big items first. This includes Reformer and Cadillac frames. These items go first because they are sturdy and can be stacked on. Plus, they are big so they have the least amount of flexibility when it comes to floor space. You can carry the carriages out separately to make the frames light, and then place the carriages in the frame rails and secure them to one end with a strap or with their springs as normal to keep them still for transport.
- Now, place what you can underneath the Reformers. This may include canopy frame poles, chair handles, Towers, and gondola poles.
- If your Reformers or Cadillac frames are tall enough, slide some cardboard boxes down under there, too.
- Next, bring your chairs out. These are heavy and sturdy enough to have things stacked on top of but because they have a smaller footprint than a Reformer or Cadillac, they are more flexible as to where they can be placed.
- Finally, place lighter, more awkward things on top. This might include Towers for the Reformers, ballet barres, baskets of inflatable balls, or other cardboard boxes.
Pad, Pad, Pad!
As you bring out your equipment and boxes, be sure to pad some specific places to avoid scratches and dents. If you are going to rent the moving blankets from the truck company, I recommend having at least two moving blankets per Reformer. Old Yoga mats also work really well.
- Pad between the Reformer/Cadillac frame and the truck walls. Make sure the frames are secured tight to the wall so the padding cannot shift during transit.
- Pad between upholstery and any box, equipment part, or frame to avoid tearing or indenting the vinyl.
Caution: Be especially careful resting heavy items on top of upholstery. I’ve seen Reformers stored with the sitting box on top end up with a permanent rectangular dent on the surface. Be sure what you are placing on top has a big surface area to evenly distribute the weight.
Tie downs
In order to keep things from shifting around en route, tie down your big equipment where necessary.
Usually, big equipment will stay fairly still, but the small stuff is what can get launched all over the compartment wreaking havoc.
My strategy for tying things down is to group as much stuff together as I can (like 10 boxes) and use one strap to hold all those boxes in place. Often, I can wedge some boxes in the space between the frames and the wall so that everything is tight even without a strap.
Rope works well, although my favorite straps are come-along style tie-downs from Home Depot (or similar hardware store). They make securing the strap very easy.
To Stack, or not to stack?
Sometimes, it’s possible and helpful to stack Reformers one on top of the other. In this case, you must be very careful to pad and tie-down the stacks so that you don’t scrape the feet on the top of the one below, and your stacks don’t fall over.
I rarely stack Reformers because it’s tricky to get them up and down, pad appropriately, and NOT worry while I’m driving.
My preference, instead, is usually to stand metal Reformers on end (they are designed for this) and tie them to the wall, and leave wood Reformers horizontal. With both kinds of Reformers, be sure that they are flat and stable against the floor or the wall so the entire weight of the Reformer is distributed over as large a surface area as possible..
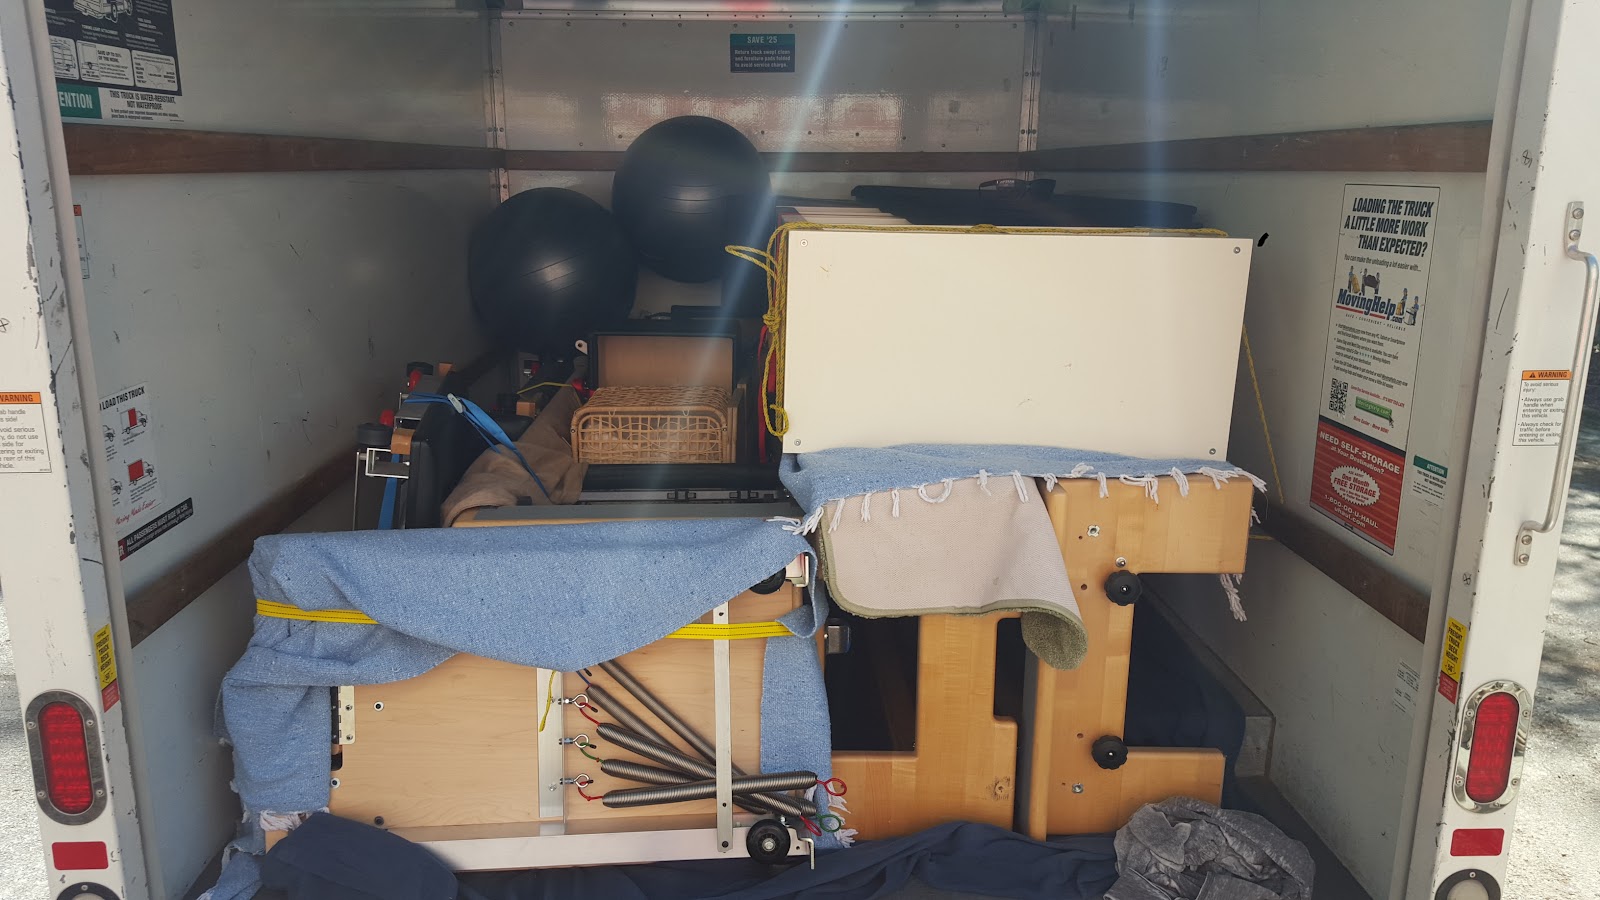
You’ll notice from my photos that I laid two wood Reformers on their side in the photo above. That is totally fine, it just requires a bit more padding because you don’t want to scrape the side of the Reformer on the dingy floor of the truck.
Final Notes
Please remember to use common sense, and reach out to a handy friend or local moving company for help if you aren’t sure about something. There are so many ways to secure your equipment for travel that I’ve really only touched the surface. I hope you find this advice helpful.
As always, happy Reforming!